
OpenClaw with Puck: device, host, and setup status
Find out where OpenClaw runs, what Puck handles, and what to confirm before choosing a voice device for your agent.
By puck. · Published · Facts checked
If you already run OpenClaw, your computer or server hosts the agent. Puck’s proposed Pod setup gives it a microphone, speaker, and display on your desk. The host controls which tools the agent can use and which model answers. Pod is a design preview. Its sample conversations on this site are scripted.
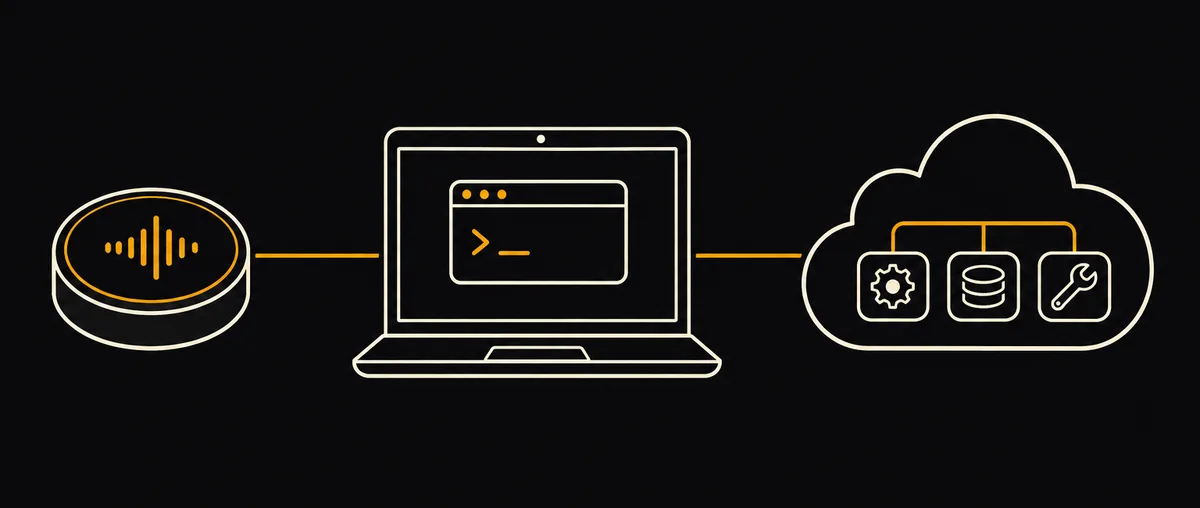
AI-generated concept illustration of one possible route through an OpenClaw host to external tools. The model and available tools depend on your host configuration.
What needs to connect?
| Part | Responsibility |
|---|---|
| Puck | Capture your request and present the response through the device. |
| Voice connection | Carry the request to your agent and return its answer. This requires a supported connection for your device and firmware. |
| OpenClaw host | Run OpenClaw on a reachable computer or server. Manage the tools, account permissions, and model configuration there. |
| Model service | Process requests where the chosen model runs. A remote provider needs connectivity to its service. A local model needs a machine capable of running it. |
Can I set this up on Mini today?
Mini is in early access. We have yet to publish a reproduced Mini-to-OpenClaw configuration with exact device firmware, host software, connection settings, and a confirmed round trip. If OpenClaw is the reason you are choosing hardware, ask Puck to confirm those details for your setup before ordering.
Check the prerequisites for your setup
- Record the Puck model, board revision if known, and installed firmware. Check the puckOS hardware reference before selecting a release.
- On the computer or server running OpenClaw, record its version and configured model provider. Open your existing agent and ask a simple question. Confirm that the reply returns on that host.
- If you need an integration, choose a tool you have already authorized and test a harmless read, such as retrieving the title of a test task. Check the result directly in the destination app.
- Before ordering hardware for this route, ask Puck to confirm the voice connection for your device and firmware. Once you have a supported configuration, repeat the same request from the device and check for the matching response on its display or speaker.
For a task-capture workflow documented in Puck Studio, see the step-by-step Todoist voice tutorial. It uses a separate Todoist connection and Puck’s voice relay.